These are the notes describing the setup and basic dashboard build for controlling a blinking LED and displaying IMU data using Adafruit IO and an ESP32.
For a more comprehensive look at Adafruit IO, read my product review here.
Preparation and Installation
The official guide covers the basics pretty well, so I won't repeat it here.
Feed Setup
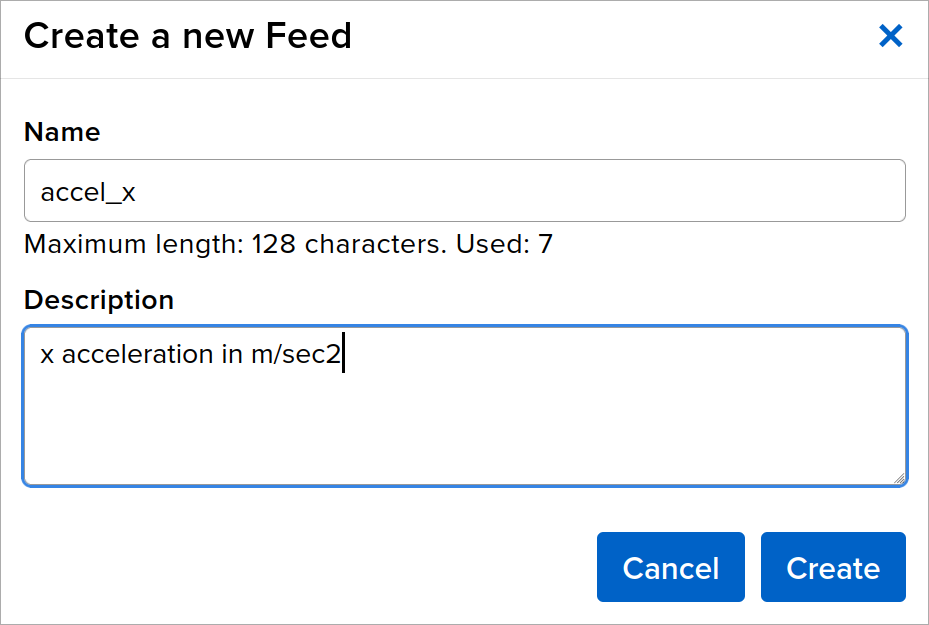
Adafruit calls their IO connected variables 'feeds'. I started by creating several for the IMU's accelerometer values and LED blink interval.

Once created, I'm ready to setup hardware and publish data to them.
Firmware
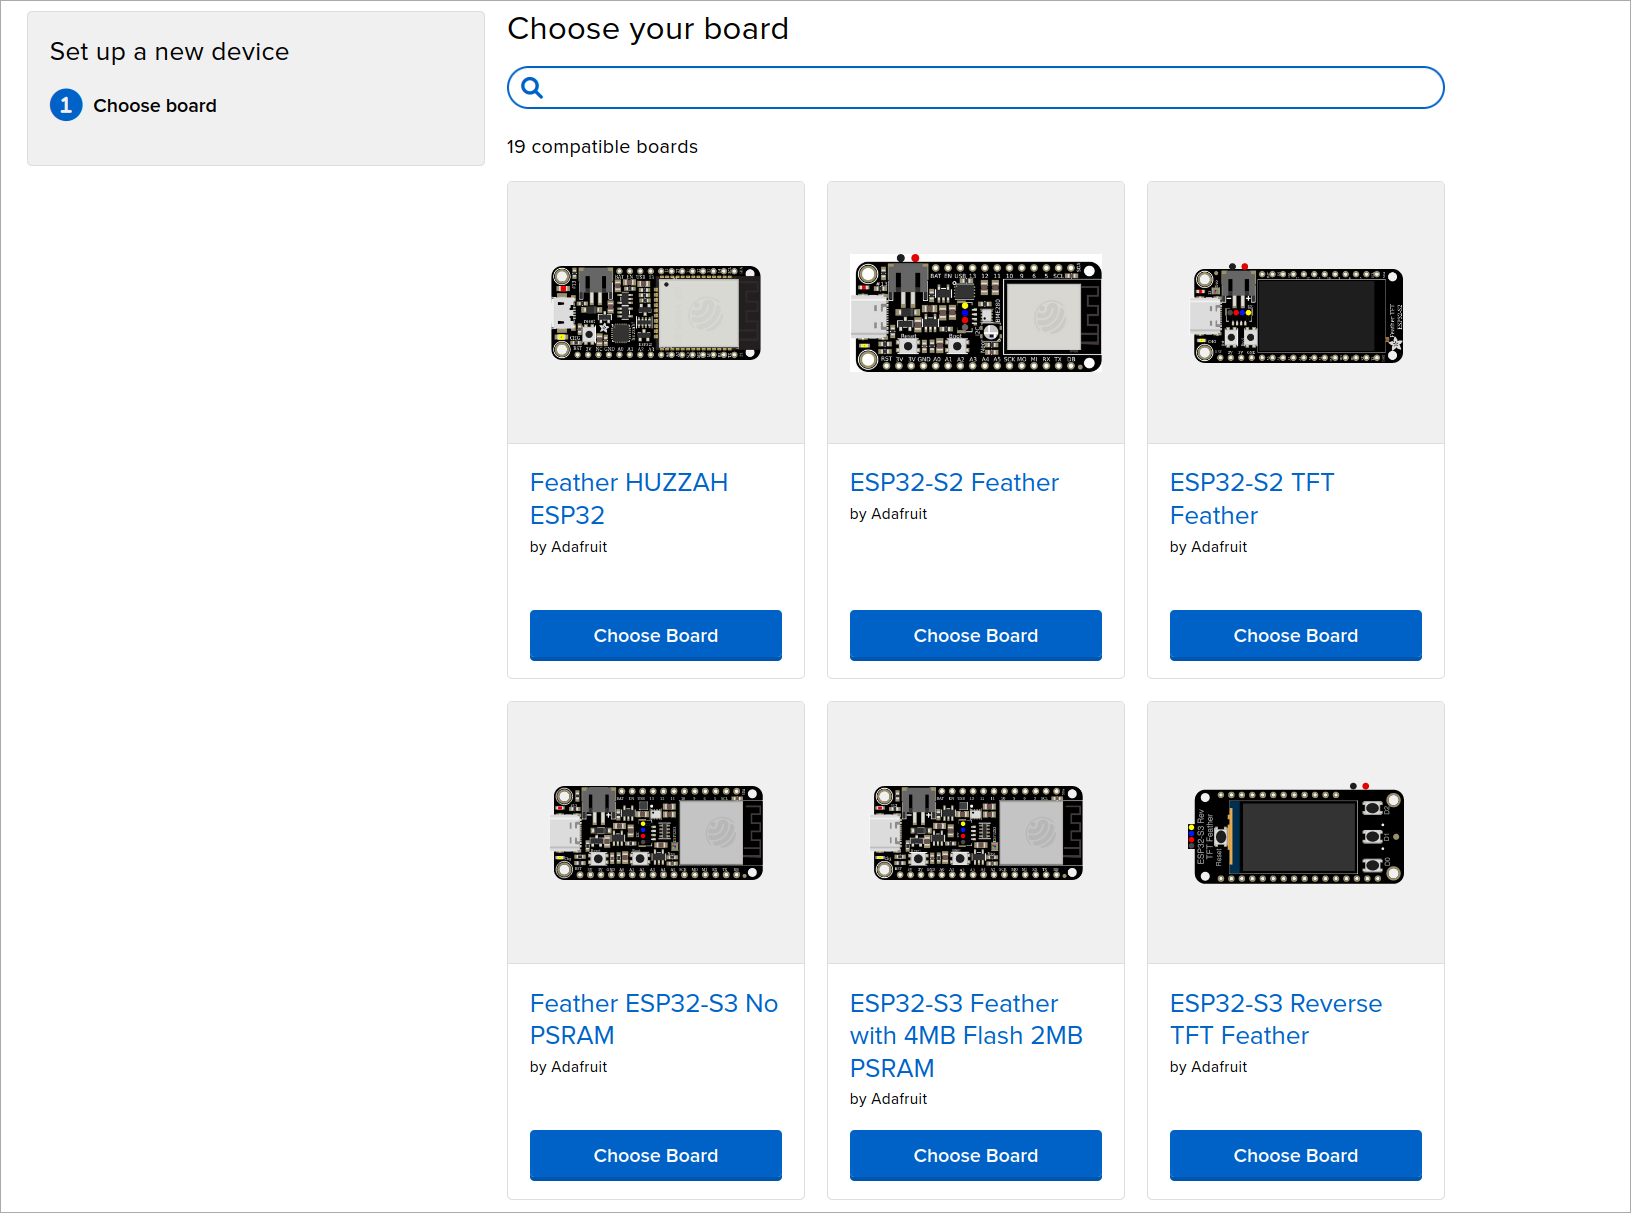
Adafruit provide a web-based firmware builder and flashing experience they call Wippersnapper for a no-code solution.
I want to see how AdafruitIO integrates into typical Arduino projects, and my Sparkfun ESP32 MicroMod isn't in their supported hardware list so I took the 'write code' path and setup the Arduino library.
I was able to download the Adafruit IO library using the Arduino Library manager.
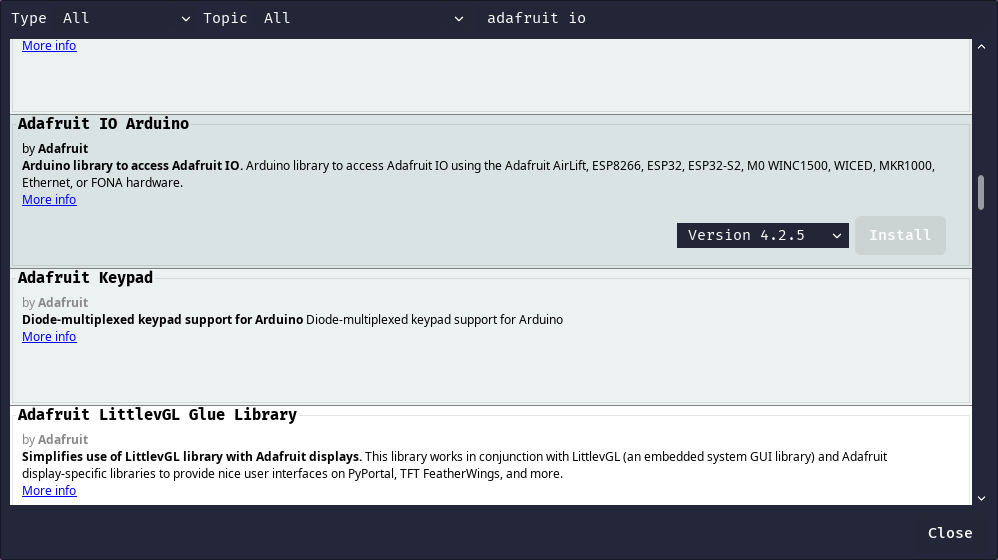
As an aside, I don't love how Adafruit's libraries are built around so many dependant libraries to make handling different sensors easier - they junk up the Arduino IDE's examples list a lot!
This Arduino sketch manages the blinking LED and IMU data publishers with non-blocking timers in the loop, making sure to respect the 30 event per minute rate limit.
#include "config.h"

#include <Wire.h>
#include "SparkFunLSM6DSO.h"

LSM6DSO myIMU; //Default constructor is I2C, addr 0x6B

bool led_on = false;
uint32_t led_timer  = 0;
uint32_t blink_interval_ms = 0;

uint32_t pub_timer = 0;
uint32_t pub_interval_ms = 10000;

// set up the feeds
AdafruitIO_Feed *accelxFeed = io.feed("accel_x");
AdafruitIO_Feed *accelyFeed = io.feed("accel_y");
AdafruitIO_Feed *accelzFeed = io.feed("accel_z");
AdafruitIO_Feed *blinkmsFeed = io.feed("blink_ms");

void setup()
{
  Serial.begin(9600);

  pinMode( LED_BUILTIN, OUTPUT );
  led_timer = millis();
  pub_timer = millis();

  Wire.begin();
  myIMU.begin();
  myIMU.initialize(BASIC_SETTINGS);

  io.connect();

  blinkmsFeed->onMessage(handleDurationMessage);

  // wait for a connection
  while (io.status() < AIO_CONNECTED)
  {
    delay(500);
  }

  blinkmsFeed->get();
}

void loop()
{
  io.run();

  if( millis() - led_timer >= blink_interval_ms )
  {
    led_on = !led_on;
    led_timer = millis();
    digitalWrite( LED_BUILTIN, led_on );
  }

  // send data to Adafruit IO feeds while respecting rate limits
  if( millis() - pub_timer >= pub_interval_ms )
  {
    accelxFeed->save( myIMU.readFloatAccelX() );
    accelyFeed->save( myIMU.readFloatAccelY() );
    accelzFeed->save( myIMU.readFloatAccelZ() );
  }
}

void handleDurationMessage(AdafruitIO_Data *data)
{
  blink_interval_ms = data->toUnsignedInt();
}
The config.h file follows the Adafruit IO examples and stores the API key, WiFi credentials and some configuration flags for device support.
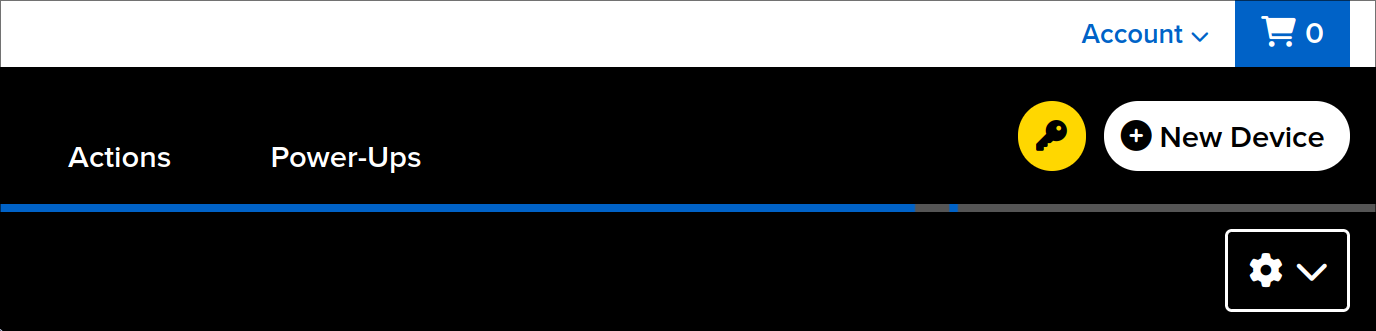
The API key info is available from the webpage with the yellow key button, next to the "New Device" button in the top right corner.
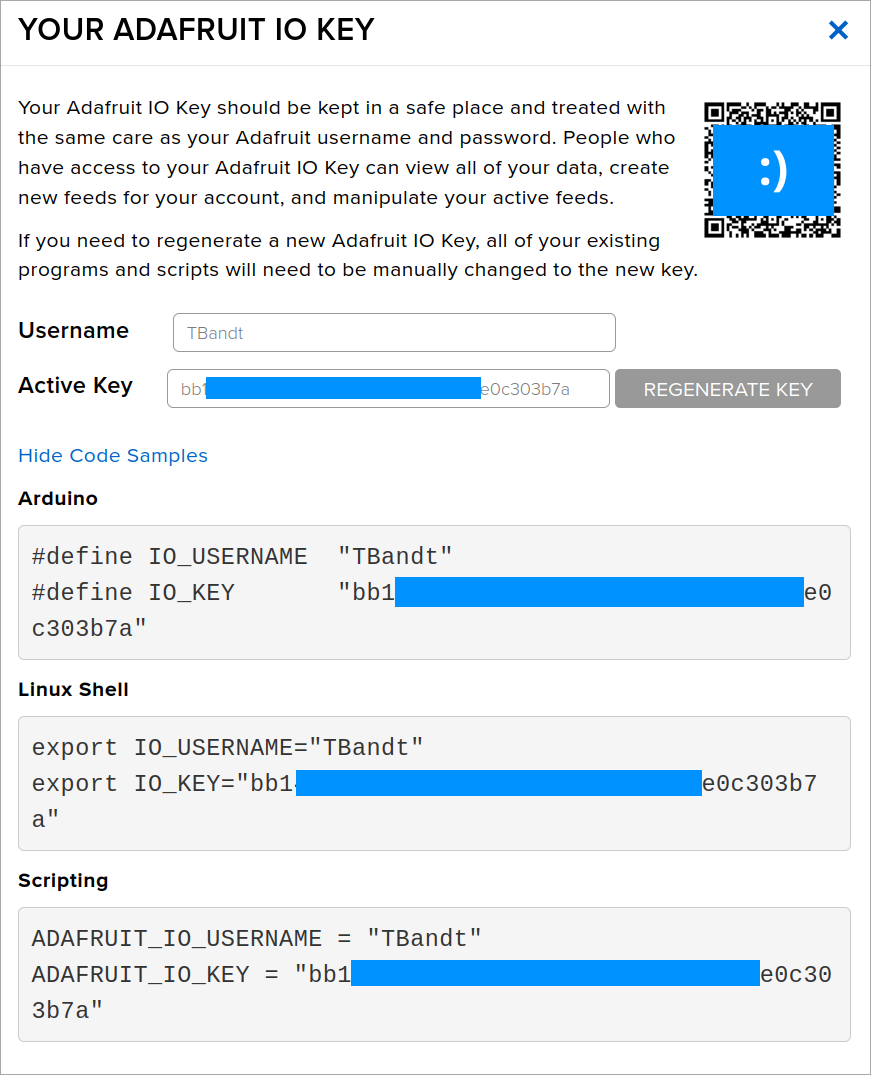
Once flashed, the value updates started appearing on the feed page, and the feed viewer also provides a quick chart and event log.
Now it's time to build a dashboard to display everything a bit better!
Web dashboard layout
Navigating to the 'Dashboards' tab shows the list of dashboards,
Once created, I was greeted with a blank page and a settings dropdown on the top-right of screen.
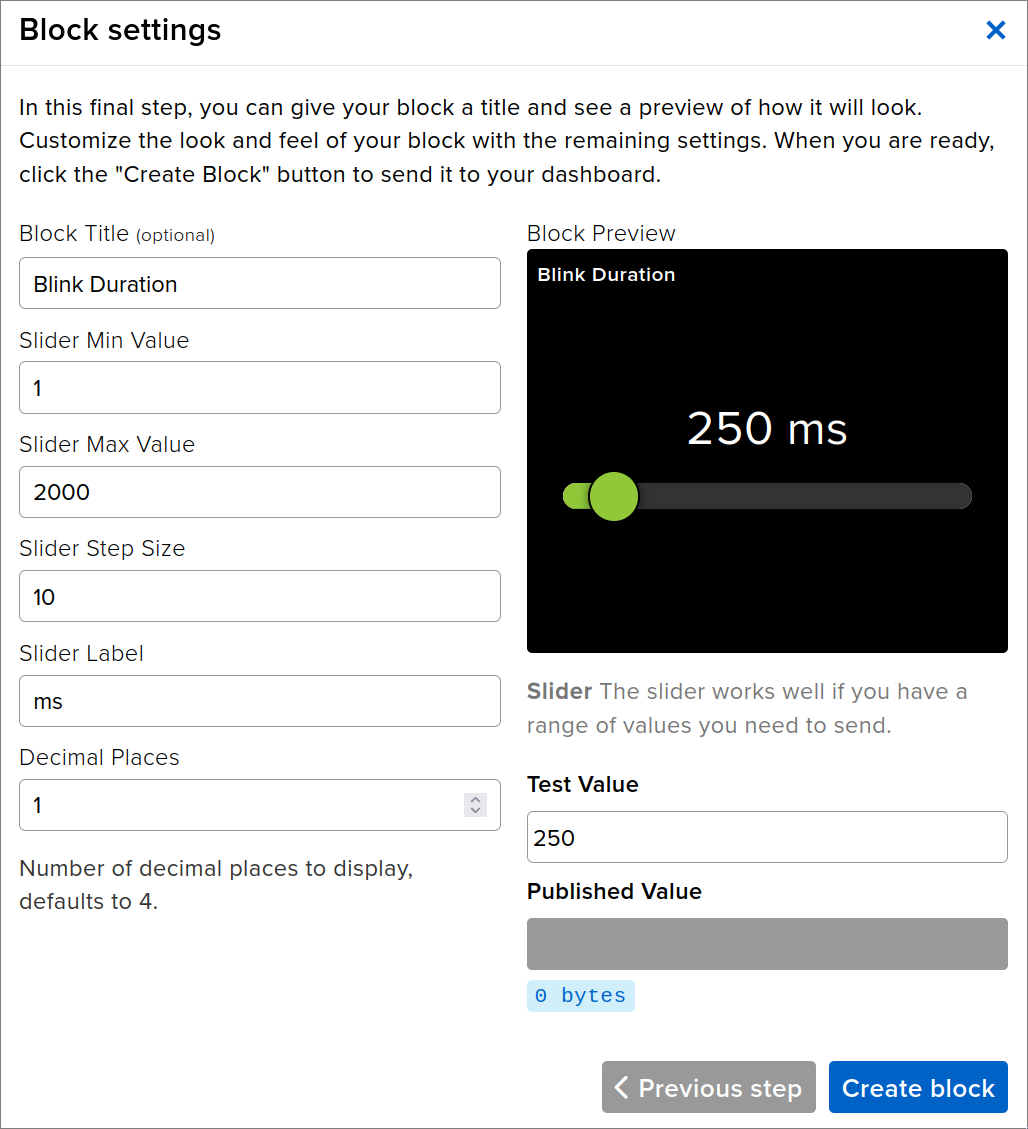
Adafruit call their pre-made UI components 'blocks'. Adding a block starts by selecting the feed(s), and then customising the text and value handling.
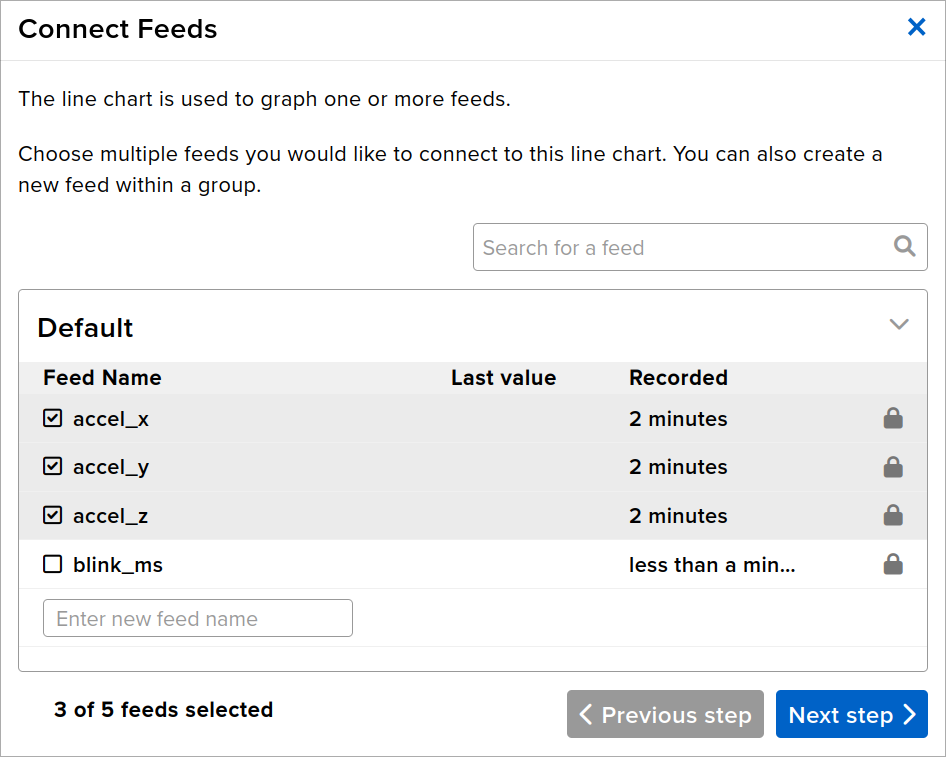
Pretty normal stuff. I like the preview and ability to change a test value to see how the block responds.
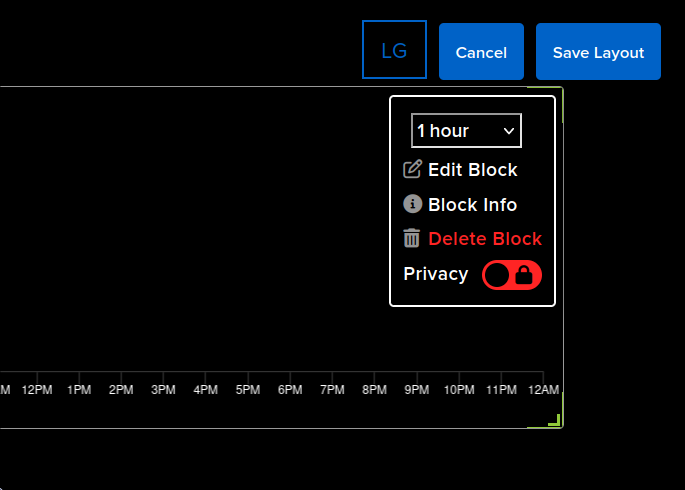
Clicking 'Edit Layout' in the dashboard's settings dropdown changes the view to a drag-and-drop interface.

The drag-and-drop behaviour is pretty typical, grab the corners to resize, grab the center area to move it around, use the settings icon to edit or delete a block.
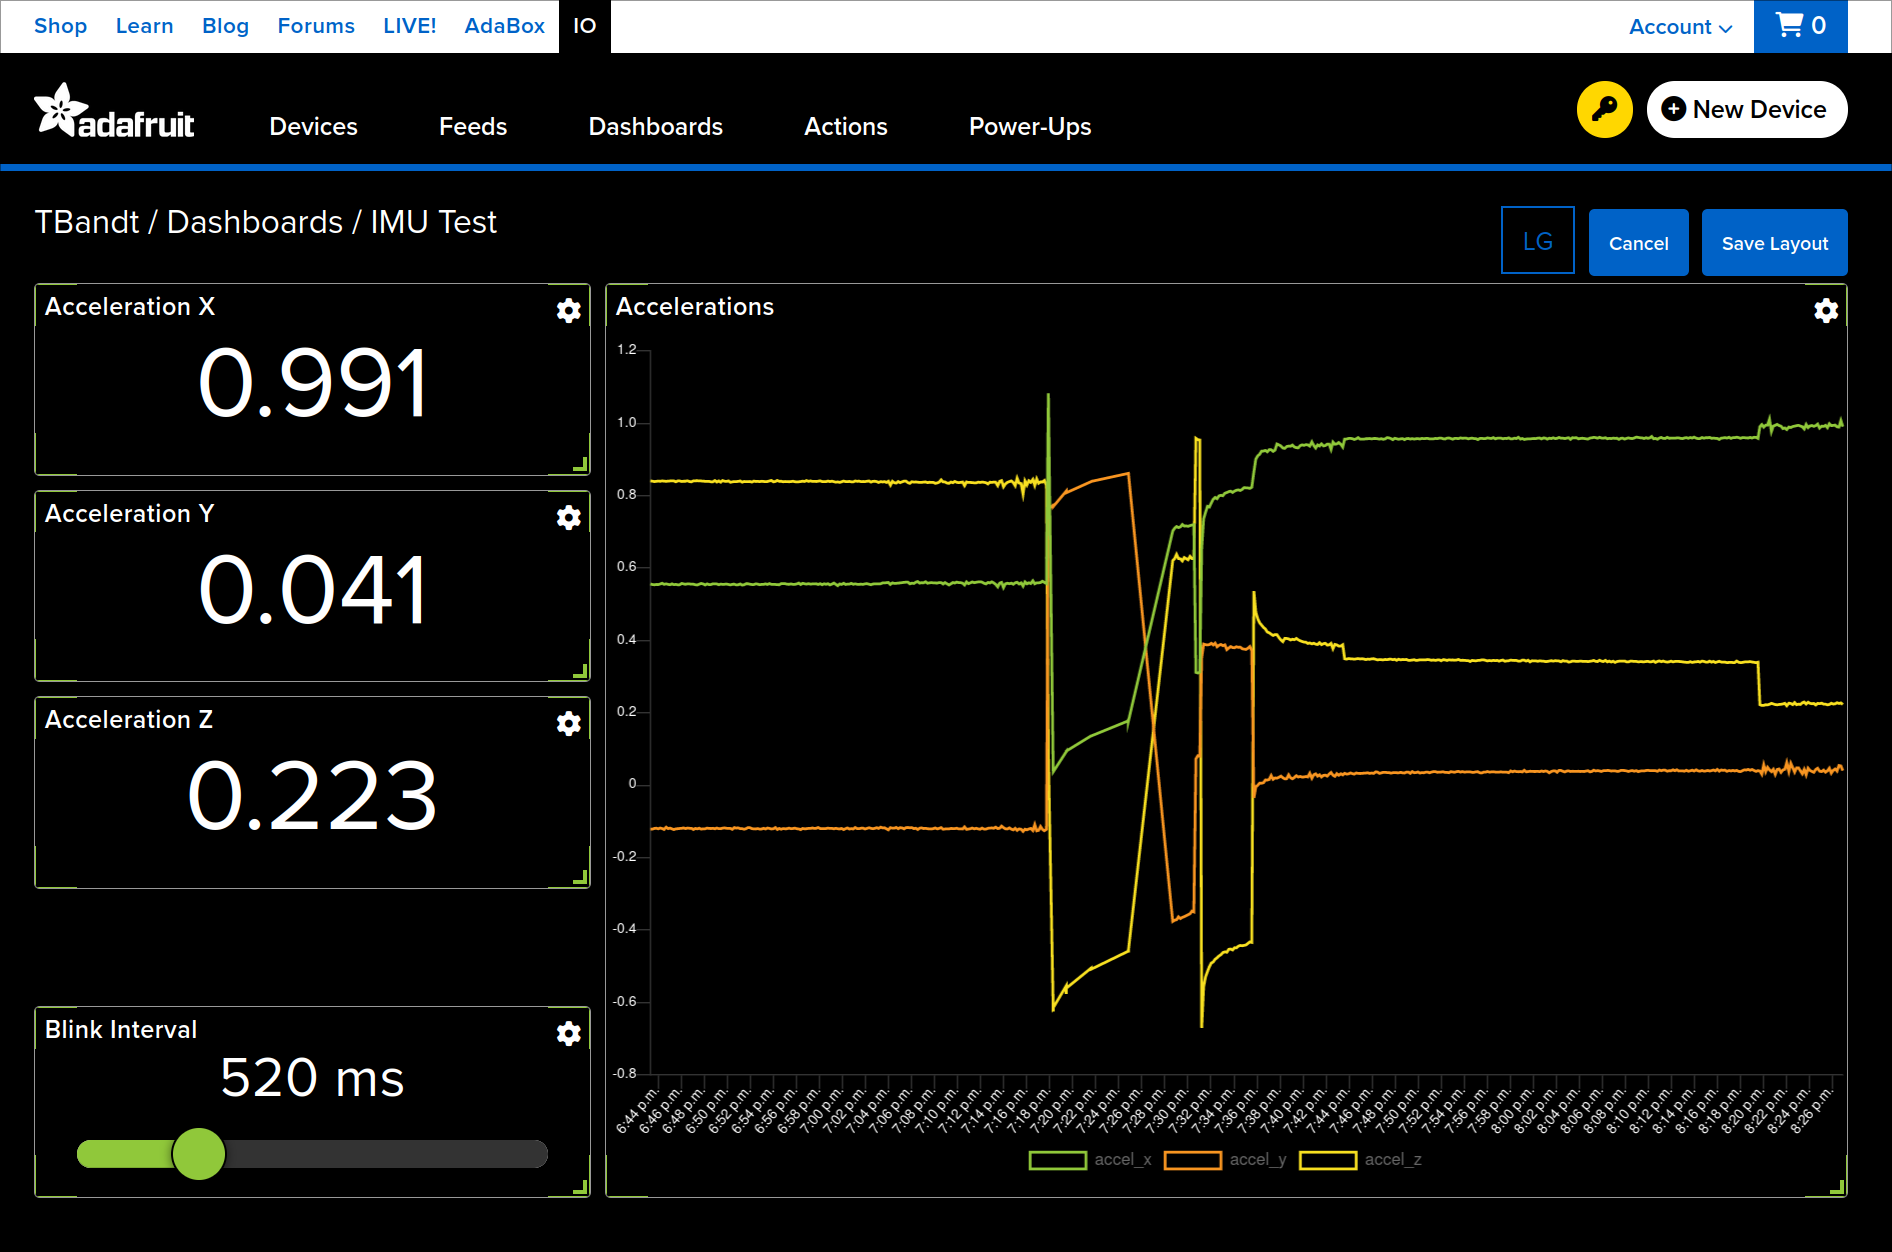
Some blocks like charting also support some 'quick config' settings in this mode.
Summary
Adafruit IO generally does a good job with the basic functionality, the documentation is well written and the examples page has a lot of pre-made project ideas/guides which suit the target audience .
It took a bit over 30 minutes to setup hardware and build the a basic interface satisfying my basic test requirements. I felt a bit restricted by the free tier's 30-event per minute limit when displaying IMU data, but otherwise it met my expectations.
It's nice to see an option which is upfront/transparent about paid plan pricing and restrictions. I also liked seeing the ability to interact with the Adafruit IO backend via POST or MQTT, which isn't exposed at the free tier (or at all) with the IOT offerings from Arduino or Blynk.