These are the notes describing my experience setting up a basic interface to control and displaying data with RemoteXY and an ESP32.
For a more comprehensive look at the RemoteXY's features (and issues), read the full review.
Preparation & Installation
The editor generates an Arduino sketch containing the user interface, so I'll plan out the UI first.
UI Layout
Using the browser based editor on remotexy.com, drag some UI components (called "Elements") onto the mockup phone screen. No account is needed to get started, but is needed to save and load layouts.
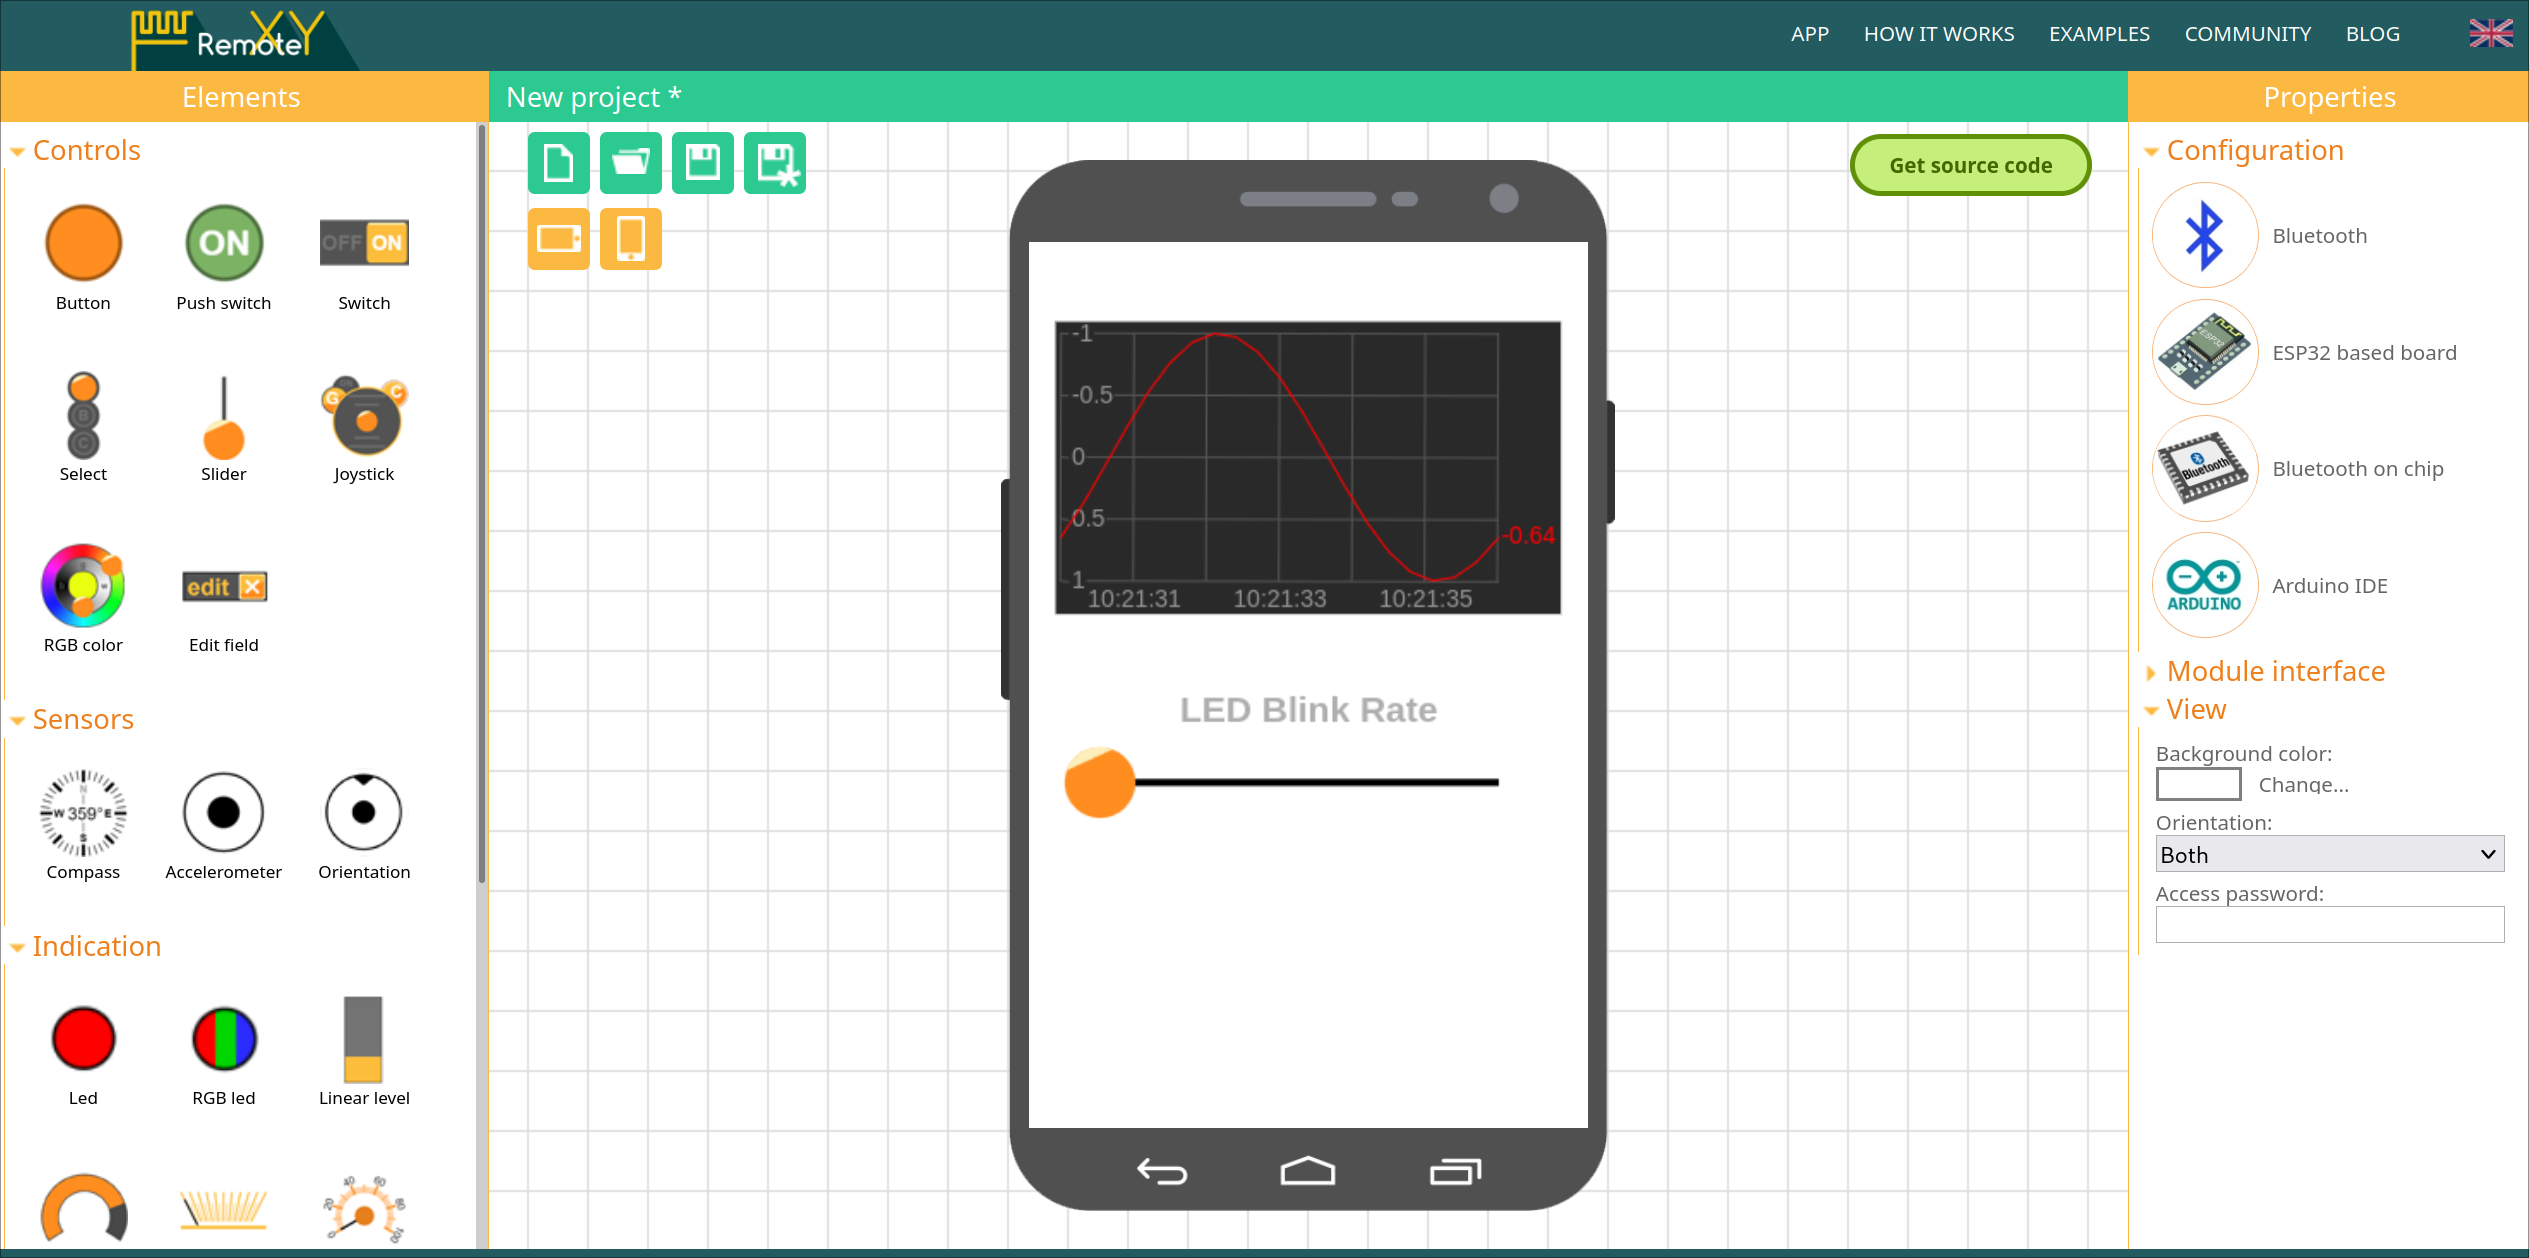
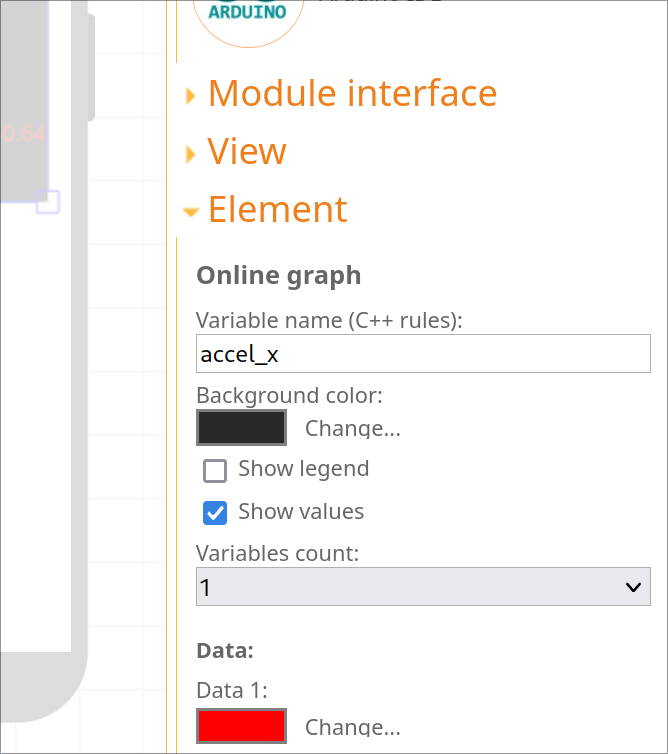
Clicking on an element displays the configurable properties on the right-hand side column. I'll use the variable "accel_x" and "blink_ms".
The free evaluation version allows up to 5 elements to be used.
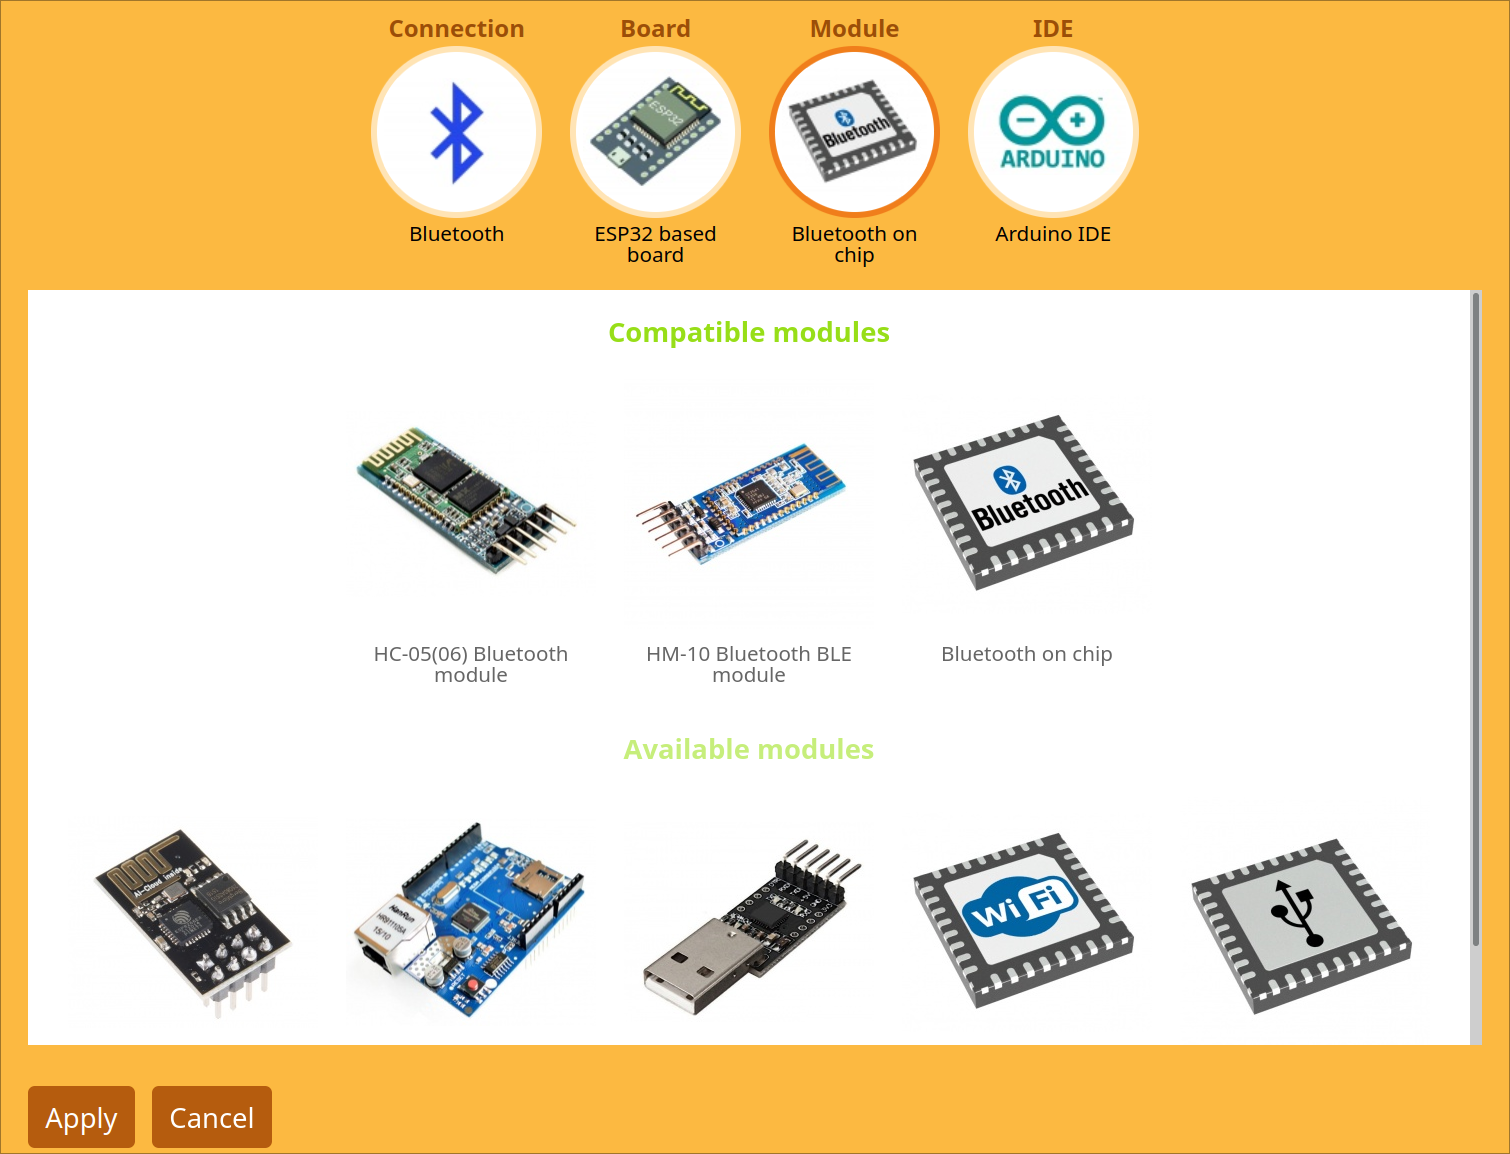
Because RemoteXY generates code for you, I needed to select the connection method and hardware.
Clicking generate code goes to a new page with a code block.
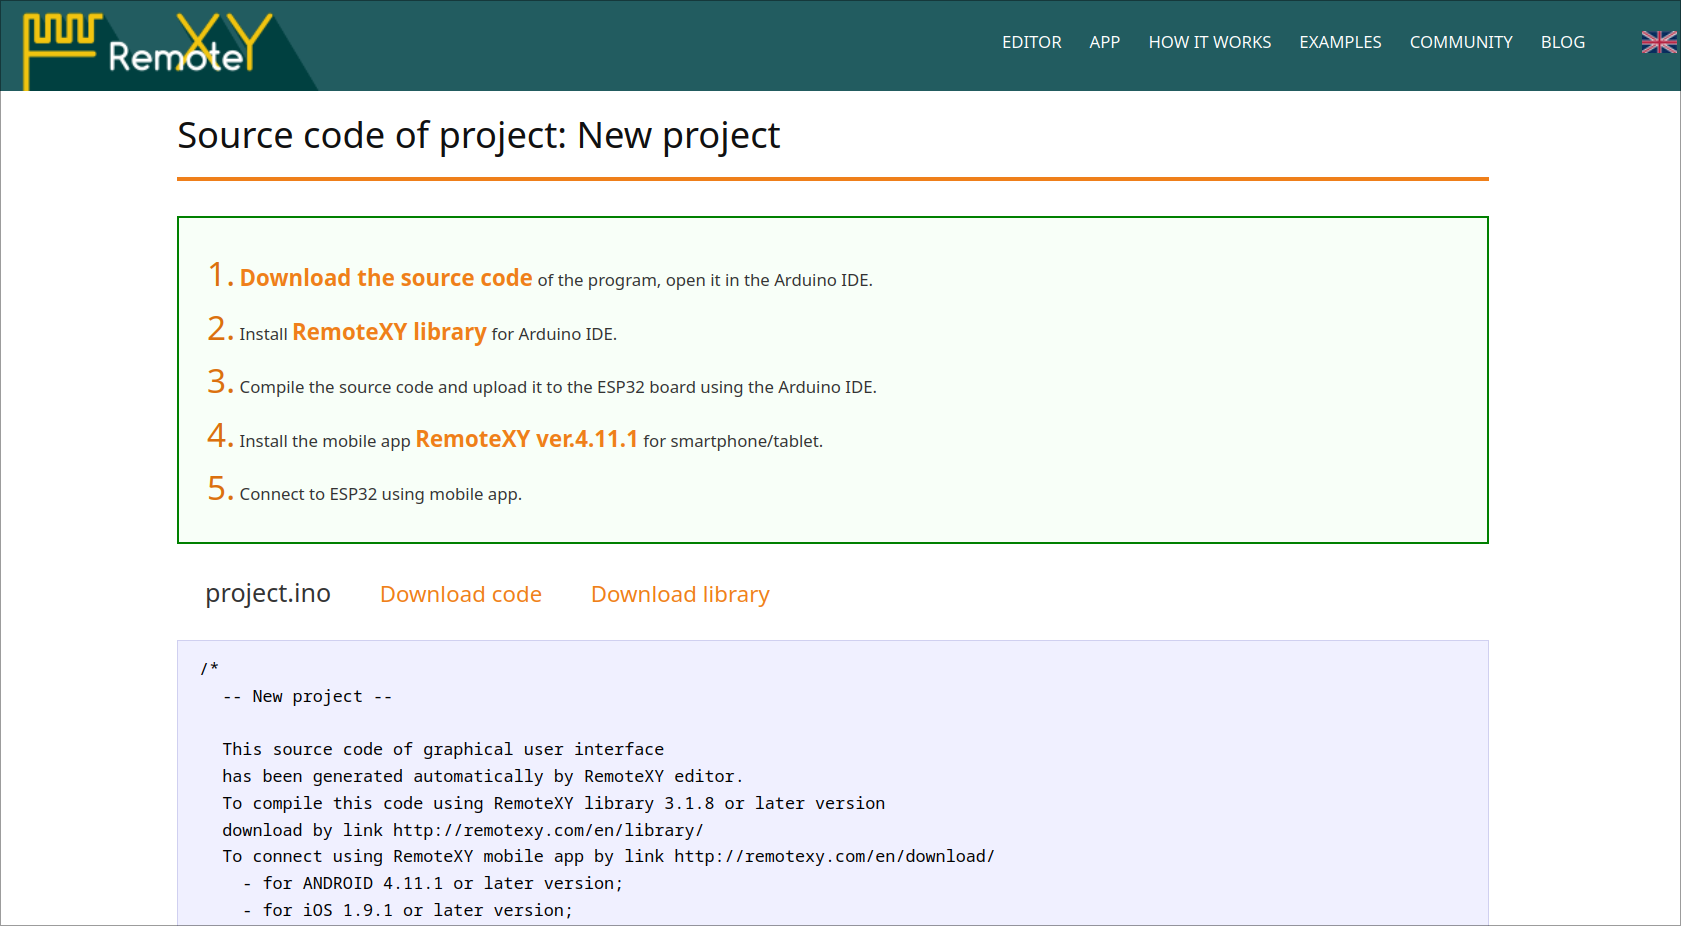
Would have been nice for a 'copy to clipboard' button...
Hardware Setup
For this guide, I'll be using Sparkfun's ESP32 MicroMod breakout and a LSM6DS0 IMU breakout connected over I2C. I use the Arduino IDE.
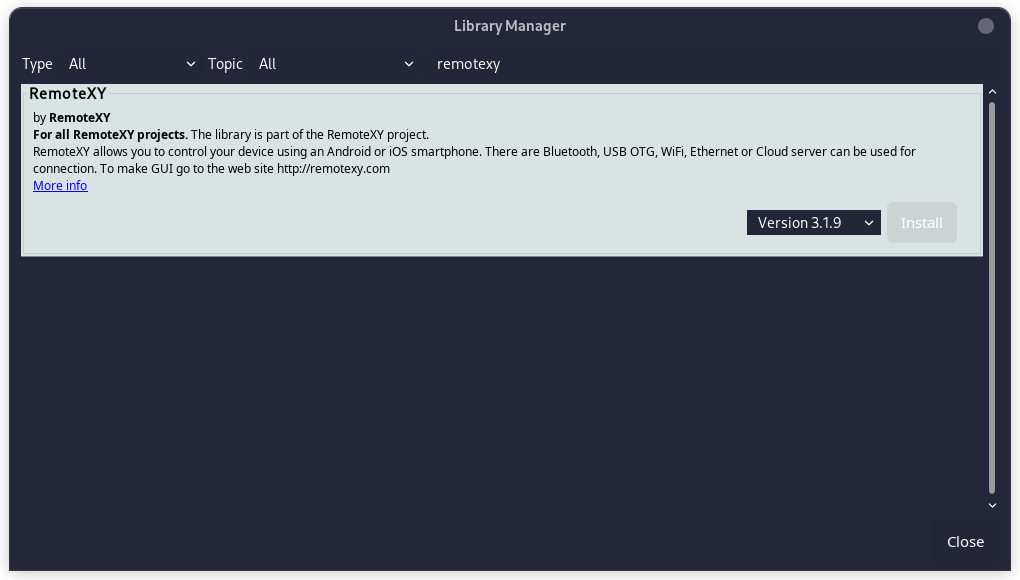
The RemoteXY library can be downloaded from their website, or through the Arduino IDE library manager. I installed it with the Arduino library manager without issue.
Integrating the IMU readings with RemoteXY was pretty simple, my code just sets the value using the structure member notation.
// RemoteXY select connection mode and include library
#define REMOTEXY_MODE__ESP32CORE_BLE
#include <BLEDevice.h>

#include <RemoteXY.h>

// RemoteXY connection settings
#define REMOTEXY_BLUETOOTH_NAME "RemoteXY"

// RemoteXY configurate
#pragma pack(push, 1)
uint8_t RemoteXY_CONF[] =   // 35 bytes
  { 255,1,0,15,0,28,0,16,31,1,68,17,3,7,57,29,8,36,67,4,
  39,43,20,5,2,26,11,4,128,5,42,28,7,2,26 };

// this structure defines all the variables and events of your control interface
struct {

    // input variables
  int8_t blink_ms; // =0..100 slider position

    // output variables
  float accel_x;
  char blink_duration[11];  // string UTF8 end zero

    // other variable
  uint8_t connect_flag;  // =1 if wire connected, else =0

} RemoteXY;
#pragma pack(pop)

/////////////////////////////////////////////
//           END RemoteXY include          //
/////////////////////////////////////////////

#include "SparkFunLSM6DSO.h"
#include "Wire.h"

LSM6DSO myIMU; //Default constructor is I2C, addr 0x6B

bool led_on = false;
uint32_t led_timer  = 0;

void setup()
{
  RemoteXY_Init ();

  // TODO you setup code
  RemoteXY.blink_ms = 100;
  pinMode( LED_BUILTIN, OUTPUT );
  led_timer = millis();

  Wire.begin();
  myIMU.begin();
  myIMU.initialize(BASIC_SETTINGS);
}

void loop()
{
  RemoteXY_Handler ();

  RemoteXY.accel_x = myIMU.readFloatAccelX();

  if( millis() - led_timer >= RemoteXY.blink_ms )
  {
    led_on = !led_on;
    led_timer = millis();
    digitalWrite( LED_BUILTIN, led_on );
  }
}
It built and flashed first time, no problems here.
Testing the app
I tested the app on an iPhone and an iPad using BLE, WiFi, and the RemoteXY Cloud connection method. Each connection method needed changes to the configuration and re-flashing the ESP32.
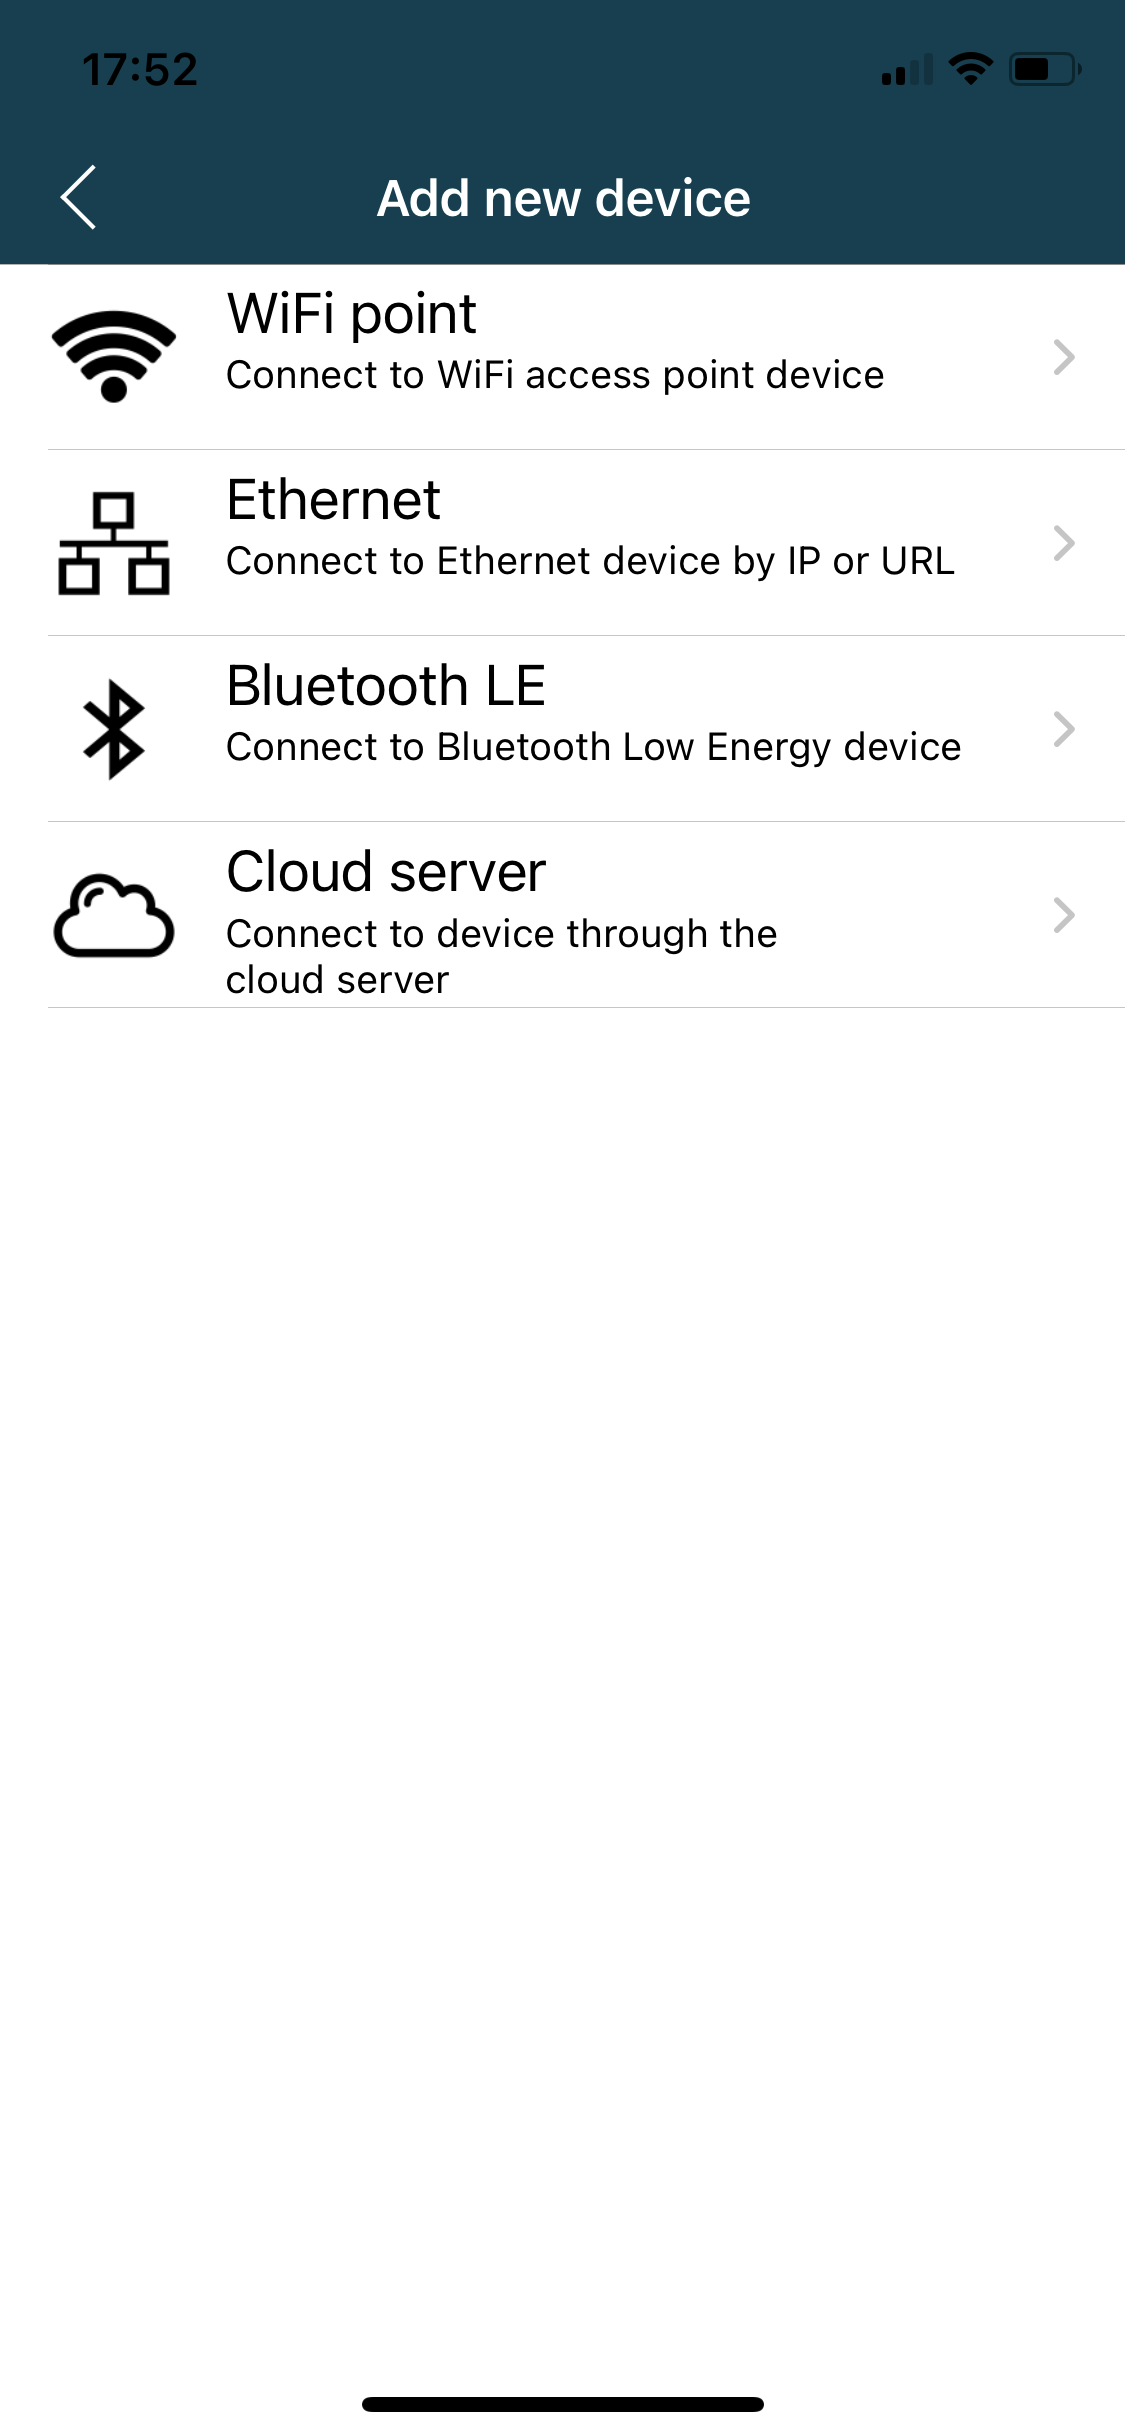
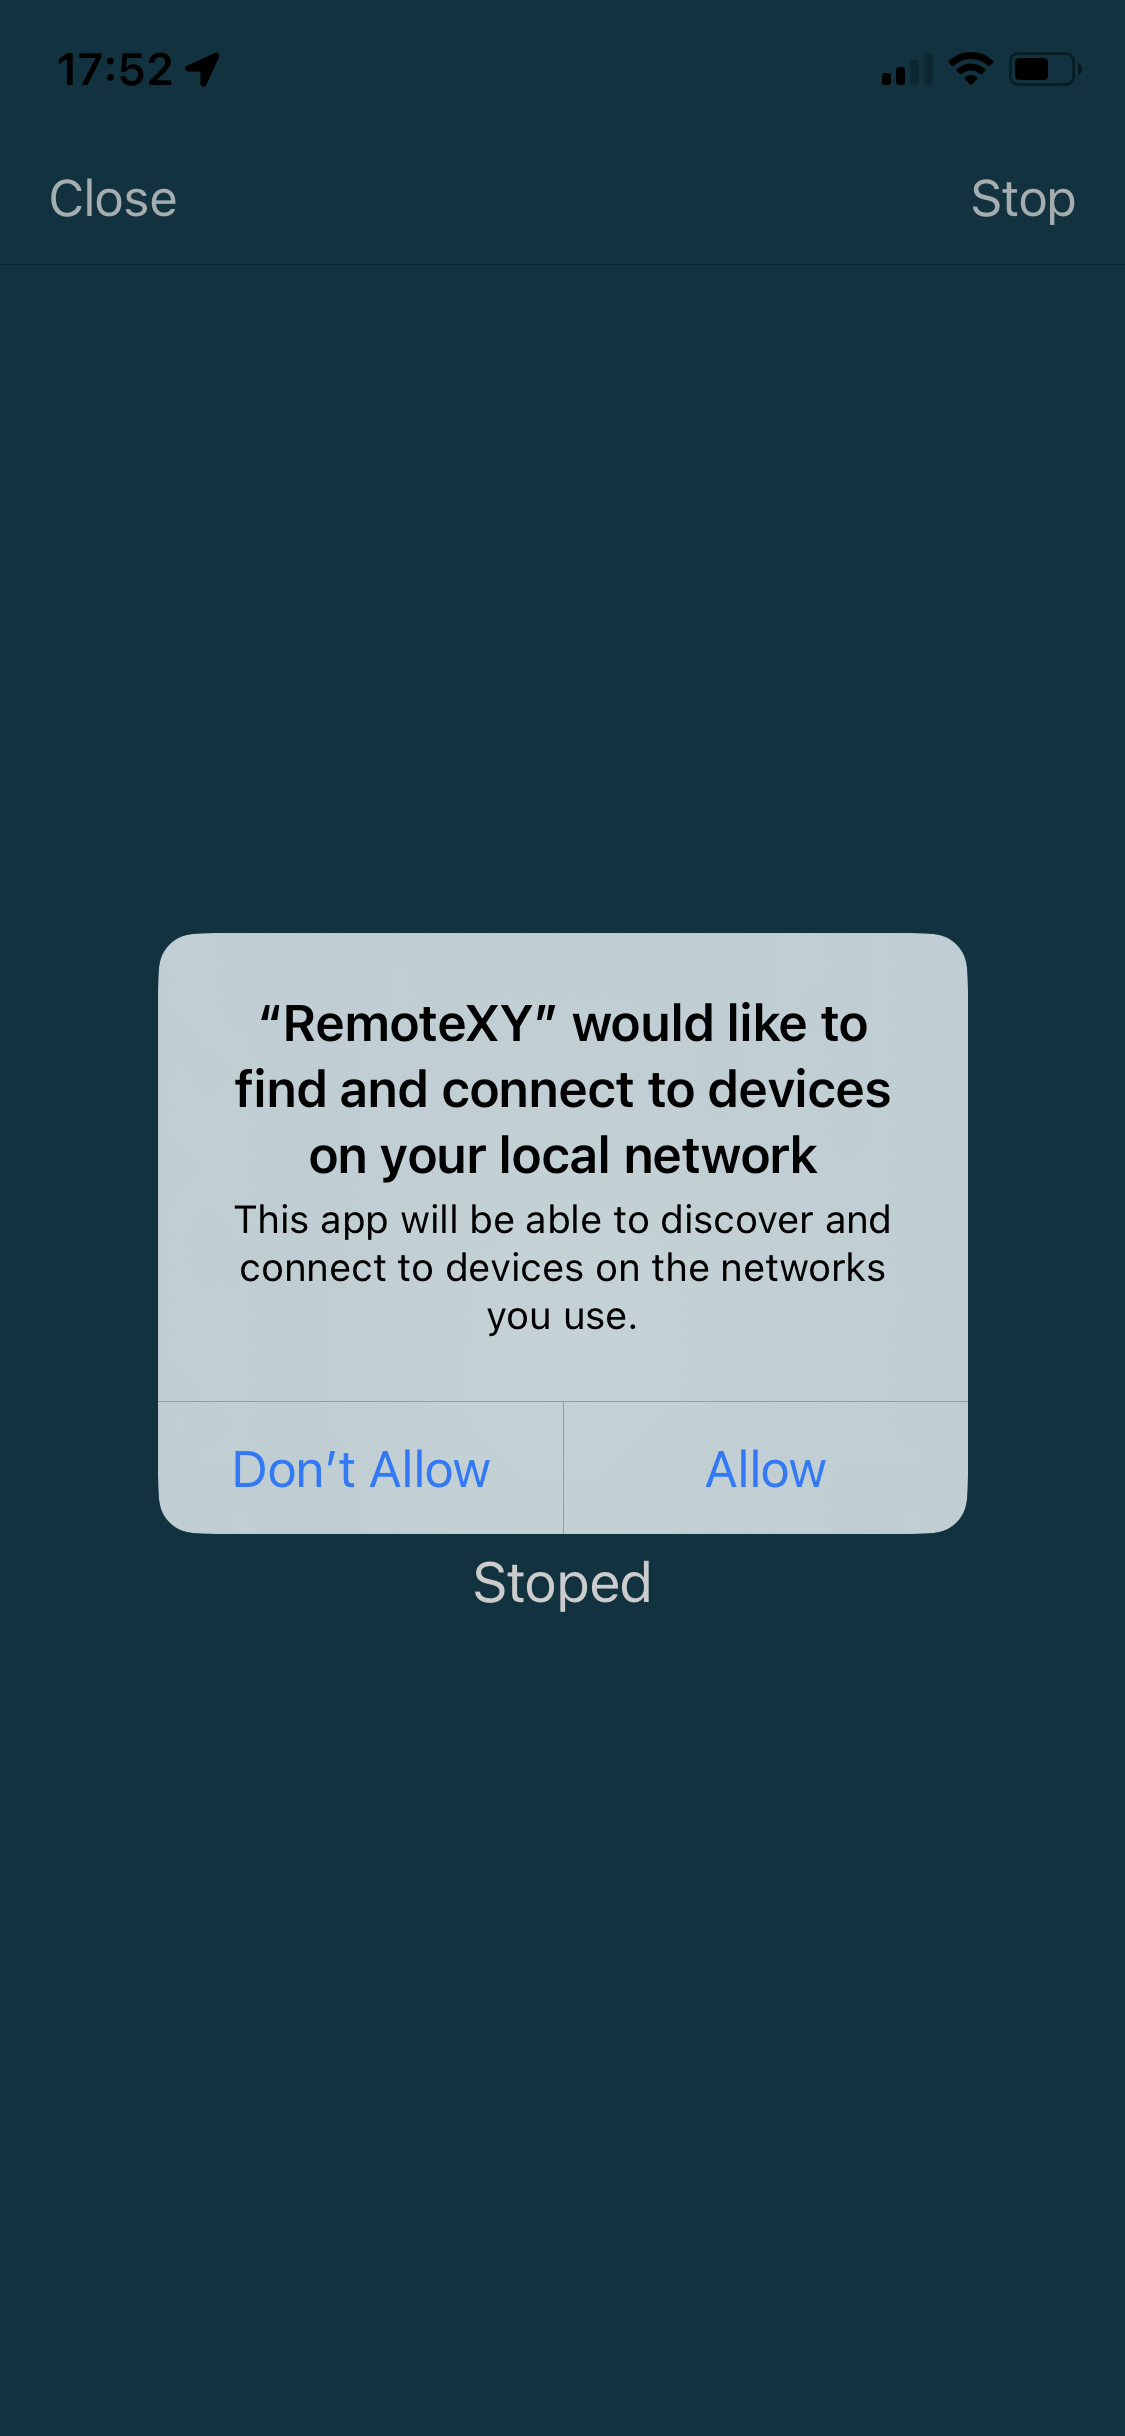
Adding a new device prompts for the connection method then a permissions request.
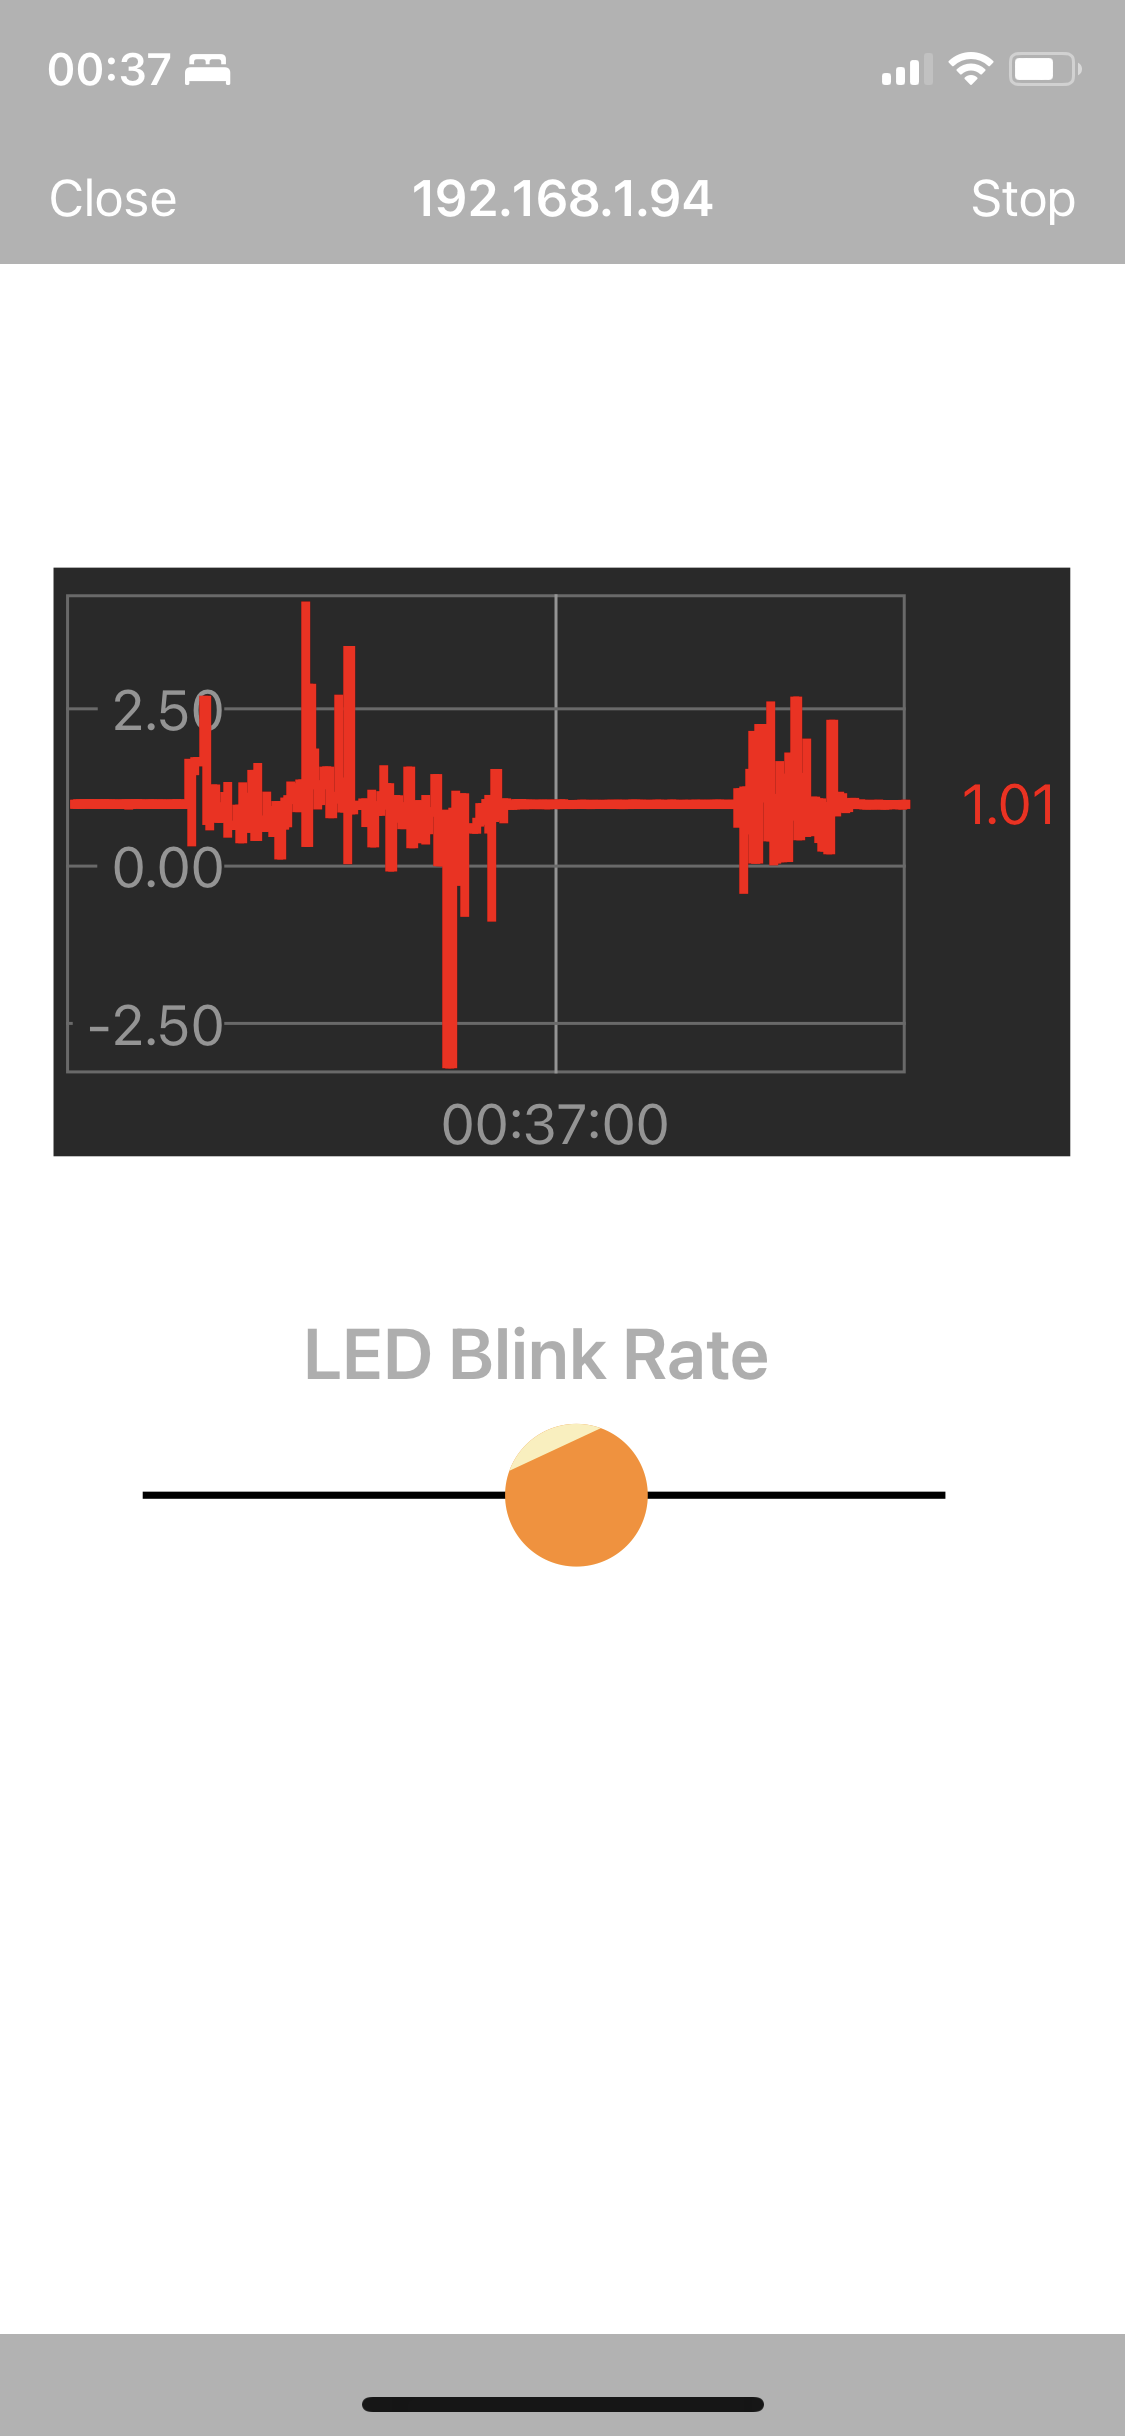
This is what the quick test layout looks like, with a chart for IMU data, a slider to control the blinking led, and a value box to display the IMU data.
My 'basic test' wants a text display of a variable, which I found was overly complicated. RemoteXY's text component only accepts strings, so I'd have to convert the floating point value and format it for the fixed-length char array using snprintf . I've written more about this in the summary.
BLE
I couldn't get my iPad to connect via BLE at all. My iPhone connected first try.
LED control latency seems responsive enough. The IMU stream updated consistently around 5Hz
WiFi
For WiFi, I needed to find the IP address of the ESP32 and enter that. There was no 'search' functionality. This also failed to connect on the iPad, and worked first try with the iPhone.
The IMU acceleration data streams at a higher rate than BLE, but there were frequent periods of no or slow updates. The variability in latency actually made this feel worse than the slower updating BLE method.
Cloud Connection
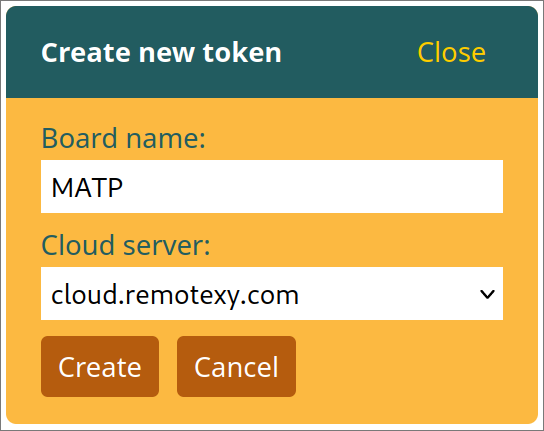
Getting the cloud connection method worked first try.
Created a cloud token using the cloud.remotexy.com server, changed the connection method in the editor, and flashed the modified firmware.

Changing the LED brightness had far higher latency. The IMU data appeared to update about once a second.
Every time the app stops the cloud connection (or is disconnected due to changing apps/multitasking) the app would crash.
Summary
In general, the web editor tools are simple but work ok, and the app's layout looks the same as the editor preview. This is fine but the inconsistent mix of poorly styled web components and native UI pickers for text entry or lists doesn't feel great.
Each UI element has hard-coded types and ranges. This means anyone using the app will have to apply tedious value mapping on all inputs/outputs.
Similarly, only providing the ability to display character arrays as text on screen makes it hard to just view data. This is a poor use of microcontroller processing time, wastes bandwidth sending a long string instead of a byte or two, and it's tedious to handle conversions manually.
BLE seems to be the easiest and most reliable method to connect for me, followed by the Cloud connection option.
The app worked fine on my iPhone but failed to connect on the iPad.